As an Amazon Associate I earn from qualifying purchases.
To prime a Keurig Coffee Maker, fill the reservoir with water and run a brewing cycle without a K-cup. Press the brew button to start the priming process.
To guarantee that your Keurig coffee maker works effectively and consistently brews the ideal cup of coffee, prime it. This straightforward procedure—which many people frequently ignore—is essential to preserving the functionality and lifespan of your computer.
Water runs easily through the coffee maker because it eliminates air from the system that could obstruct the brewing process. Priming is a simple and quick job, whether you’re setting up a new machine for the first time or trying to maintain the best possible performance out of your present one. To enjoy smoother, richer coffee with every cup, prime your Keurig by following these easy instructions.
Understanding Your Keurig Coffee Maker
Gaining proficiency in the Keurig coffee maker priming method guarantees consistently excellent brews. Both novice and experienced users will find it easy to follow this guide’s simplification of the procedures. With this simple priming procedure, find out how to bring out the full flavor of your favorite coffee.
Keurig coffee makers, which provide convenience and variety at the touch of a button, have completely changed the way we enjoy our morning drink. It’s critical to prime your computer correctly if you want to maximize its potential and make sure it runs smoothly.
This step-by-step guide will help you understand your Keurig and get it ready for that perfect cup of coffee.
Getting To Know Your Keurig Model
Each Keurig model might have distinct features and settings, yet they all share a common functionality at their core. Familiarizing yourself with your specific model is the first step to a seamless coffee-making experience:
- Model Identification: Determine the model you own by checking the machine’s label or manual. This information is vital for troubleshooting and understanding specific features.
- Water Reservoir Capacity: Knowing how much water your Keirig can hold will help you avoid overfilling and understand how many cups you can brew before needing a refill.
- K-Cup Compatibility: Learn which K-Cup sizes and types are compatible with your machine to ensure you purchase the right ones and enjoy a variety of flavors.
- Cleaning Indicators: Most models have alerts to remind you when it’s time to descale and clean your machine, which is crucial for maintaining its longevity and performance.
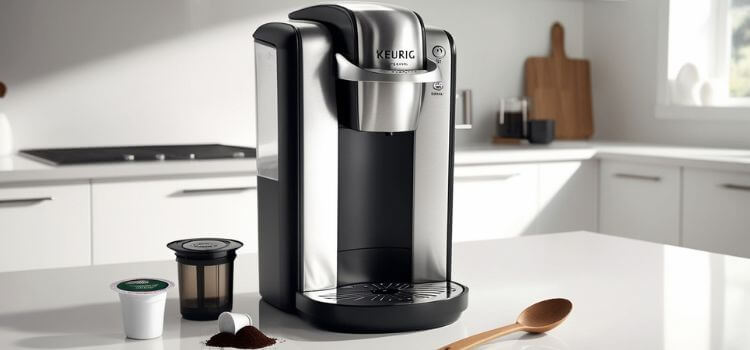
Preparing The Water Reservoir
A clean water reservoir is the foundation of a good cup of coffee. Before priming your Keurig, make sure the reservoir is clean and filled with fresh water:
- Make that the water reservoir is locked into place and placed correctly. Leaks are avoided and the machine’s ability to draw water effectively is guaranteed by a snug fit.
- Fill the reservoir with fresh, filtered water up to the max fill line. Using filtered water can reduce the need for frequent descaling and improve the taste of your coffee.
Priming Your Keurig
To prime your Keurig for the first time or when it hasn’t been used in a while, follow these simple instructions. To remove any residue and prepare the internal parts for brewing, water is pumped through the system:
- Once your Keurig is turned on, let it warm up. It normally takes a few minutes, and when the lights stop blinking, it’s ready.
- Lift and lower the handle without inserting a K-Cup to initiate a cleansing brew. This step ensures that any dust or debris inside is flushed out.
- Place a mug on the drip tray to catch the hot water and select the largest cup size to run a water-only brew cycle. Repeat this process if you haven’t used your machine in a while, to ensure it’s thoroughly primed.
Maintenance Tips For Your Keurig
To keep your Keurig in top condition and ensure the longevity of your machine, regular maintenance is key. Here are some simple tips to follow:
- Descaling: Perform descaling every 3-6 months using a Keurig descaling solution or a vinegar and water mixture to remove mineral buildup.
- Regular Cleaning: Wipe down the exterior with a damp cloth, clean the drip tray regularly, and wash the water reservoir by hand with warm soapy water to prevent mold and bacteria growth.
- Needle Maintenance: Use a paperclip to clear out any coffee grounds that may have gotten stuck in the needles from time to time to prevent clogging and ensure a smooth brew.
Understanding your Keurig coffee machine and adhering to these maintenance and priming instructions will ensure that you get great coffee every day without any hassles. If you follow these suggestions, your Keurig will quickly become your favorite for satisfying coffee needs.
The Priming Process: Step-by-step Guide
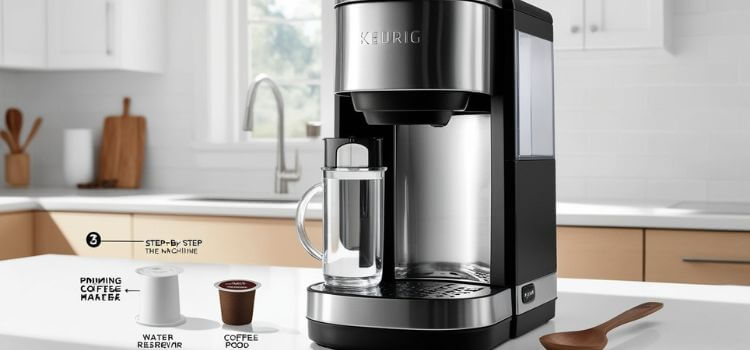
Discover the essential steps to priming your Keurig coffee maker for the perfect brew. Our comprehensive guide simplifies the process, ensuring a flawless cup every time.
The Importance Of Priming Your Keurig
Let’s examine why priming is important for the functionality of your Keurig before getting started. Assuring that all internal systems are prepared for optimal performance, priming your coffee maker is similar to giving it a warm-up regimen. It helps you consistently brew the ideal cup of coffee by eliminating air bubbles that could obstruct the process.
Priming your Keurig coffee maker is a straightforward task that can greatly enhance your brewing experience. Here’s how to do it:
- Fill the Water Reservoir: Start by filling the water reservoir to the max fill line. This ensures that there is enough water for the priming process.
- Turn On the Keurig: Power up your Keurig machine by pressing the power button. Wait for the machine to warm up, which usually takes a few minutes.
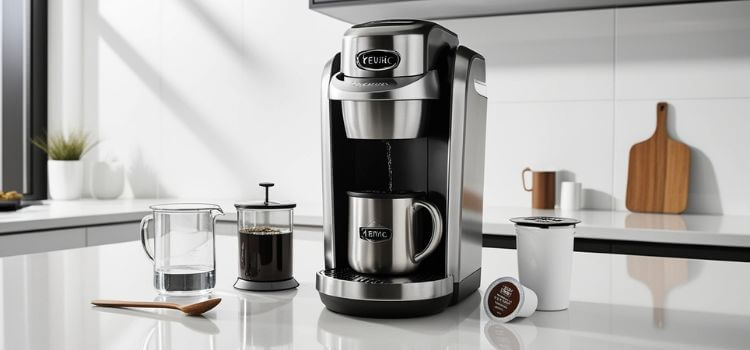
- Place a Mug: Position a mug on the drip tray to catch the dispensed water.
- Run a Cleansing Brew: Without inserting a K-cup, lift and lower the handle and select the largest cup setting to start a cleansing brew. This pushes water through the machine, priming it for use.
- Repeat if Necessary: Sometimes, one cycle isn’t enough to fully prime the Keurig. If the machine indicates it needs more water, refill the reservoir and repeat the process.
Troubleshooting Priming Issues
Every now and then, you may run into problems when priming. Don’t worry, most can be handled with ease. Your Keurig may not brew at all or may only brew part of a cup if it is not properly primed. This is what you should do:
- Check for blockages: Make sure there’s nothing clogging the water lines or needle.
- Reset the machine: Turning your Keurig off and on again can sometimes resolve priming issues.
- Consult the manual: Your Keurig’s user manual has a troubleshooting section specifically for priming problems.
Your Keurig should be primed and ready to dispense great coffee whenever you need it if you follow these instructions. Recall that routine upkeep, such as priming, will extend the life of your coffee machine and guarantee that the caliber of your coffee stays constant.
Troubleshooting Common Issues
Do you have problems with your Keurig coffee machine? To guarantee a flawless brew each and every time, this instruction makes priming the machine easier. Discover how to quickly diagnose and fix your Keurig to improve your coffee-drinking experience.
Convenience and reliability are the main reasons why Keurig coffee makers are so popular, but occasionally, consumers may have a few glitches that ruin their coffee-brewing experience. By understanding how to solve these problems, you can restore your machine to optimal functioning and guarantee that your morning coffee is never jeopardized.
Keurig Not Brewing
Your Keurig could occasionally not want to brew. There are several possible causes for this, and identifying the precise one is important:
- Water reservoir issues: Ensure the reservoir is properly seated and filled with water. Sometimes, air bubbles trapped in the line can prevent brewing.
- Clogged needles: Use a paperclip to gently clear away any coffee grounds that may have lodged in the needles.
- Descaling needed: Mineral buildup can obstruct water flow, so descaling with a Keurig-approved solution may be necessary.
Machine Turns Off Unexpectedly
Imagine this: your Keurig goes off by itself just as you’re ready for your coffee. Yes, it is frustrating. Together, let’s take on this:
Your Keurig might be acting like it has a mind of its own when it shuts off unexpectedly. This can be due to:
- Auto-off feature: Your coffee maker may have an energy-saving auto-off feature that needs adjusting.
- Overheating: If the device is too hot, it will shut down to prevent damage. Give it time to cool down before restarting.
Partial Cup Of Coffee
It’s disappointing to anticipate a full cup of coffee only to get a half-filled one. Here’s what you can check:
- Debris in the exit needle: Similar to the brewing issue, clean the exit needle to ensure nothing is blocking the water flow.
- Water reservoir alignment: Make sure the reservoir is properly in place, as a misaligned tank can cause incomplete brewing cycles.
Error Messages Or Blinking Lights
Error messages or lights can leave you puzzled, but they’re often your Keurig’s way of asking for help:
A series of blinking lights or an ominous error message on your Keurig can be daunting. However, these signals are often indicators of specific problems:
- Need to reset: Sometimes, a simple reset can clear error messages. Unplug the machine for a few minutes, then plug it back in.
- Water under pressure: This typically means the brew path is blocked. Perform needle maintenance with the machine turned off.
Equipped with these troubleshooting guidelines, you can effectively tackle typical problems that occur with Keirug coffee makers. Keep in mind that routine cleaning and maintenance can stop a lot of issues from happening and keep your Keurig brewing flawlessly, cup after cup.
Maintenance Tips For Your Keurig
Regular priming is necessary to keep your Keurig coffee maker operating effectively. Learn how to prime your machine, lengthen its lifespan, and ensure that every cup is excellent every time.
To have the ideal cup of coffee every morning, you must maintain your Keurig coffee maker. Not only does routine maintenance prolong the life of your equipment, but it also guarantees the caliber of your brew. Explore these crucial hints and techniques to maintain the optimal functioning of your Keurig.
Cleaning And Descaling: The Essentials
To avoid accumulation and guarantee flawless performance, your Keurig has to be cleaned and descaling on a regular basis. Calcium deposits can build up in your machine over time, which could harm your brewer and change the flavor of your coffee. This is how you approach it:
- Daily cleaning: Post-brewing, remove the used pod and clean the pod holder and drip tray. This prevents coffee oil and residue buildup.
- Monthly descaling: Use a descaling solution or white vinegar to run through the machine. This process removes the calcium deposits or scale that can build up inside a coffee maker over time.
Replacing Water Filters For Fresh Brews
A major component of maintenance is ensuring your water filter is fresh. The Keurig water filter is essential for eliminating contaminants from the water, which enhances the overall flavor and caliber of your coffee.
- Water filter function: The filter purifies the water, making your coffee taste better.
- Regular replacement: Change your water filter cartridge every 2 months, or more frequently if you have hard water. This keeps your brews tasting fresh and extends the life of your machine.
Following these maintenance guidelines will improve your Keurig’s functionality and prolong your enjoyment of coffee. You can keep your Keurig a dependable part of your daily coffee routine with a little effort.
Frequently Asked Questions
Why Should You Prime A Keurig Coffee Maker?
By clearing out the air from the system, priming your Keurig makes sure it runs properly. It is necessary for the best possible brewing flavor and performance. It’s an easy process that makes your cup of coffee better.
How Often To Prime A Keurig Machine?
When you initially turn on your Keurig or after extended periods of inactivity, it’s best to prime it. Priming is not required on a regular basis unless you have problems with your brewing.
What Steps Are Involved In Priming A Keurig?
Filling the reservoir, turning on the device, and brewing with just water are the steps involved in priming a Keurig. This procedure guarantees that the internal system is prepared for brewing by adding water to it.
Can You Use Vinegar To Prime A Keurig?
Using vinegar during the priming procedure is not advised. It is applied in descaling. To prime your Keurig for coffee brewing, use fresh water.
Conclusion
To sum up, following these instructions will make priming your Keurig a snap. Consistent upkeep guarantees consistently great coffee. Recall that the best brews come from clean machines. Accept the ease of this practice to improve your morning cup of coffee. To a flawless cup with each and every pour!
Amazon and the Amazon logo are trademarks of Amazon.com, Inc, or its affiliates.
Leave a Reply