As an Amazon Associate I earn from qualifying purchases.
A kitchen faucet that appears loose is not very irritating; because we can take care of everything under the sink with a few simple modifications. In today’s article, we are going to discuss how to stop your drooping kitchen tap from moving around and leaking.
Tools You’ll Need
Basin wrench- A special device that can reach into a tight space to tighten nuts.
Wrench Adjustable – For Nuts of Various Sizes
To cast some light where under the sink I need to see.
Teflon (PTFE) plumber’s tape(if you have some lying around, as this is optional but can be handy for having a good seal).
Step-by-Step Instructions

Turn Off the Water Supply:
Beneath your sink locate the water lines and shut them off with the valves before you start to disassemble anything. Therefore, water does not drip in the hole as you drill it.
Remove your contents underneath the sink and put it elsewhere for the white.
Remove everything from beneath the sink, to allow for room in which to work. Place a towel on the fabric and then spray so as to absorb anything that leaks.
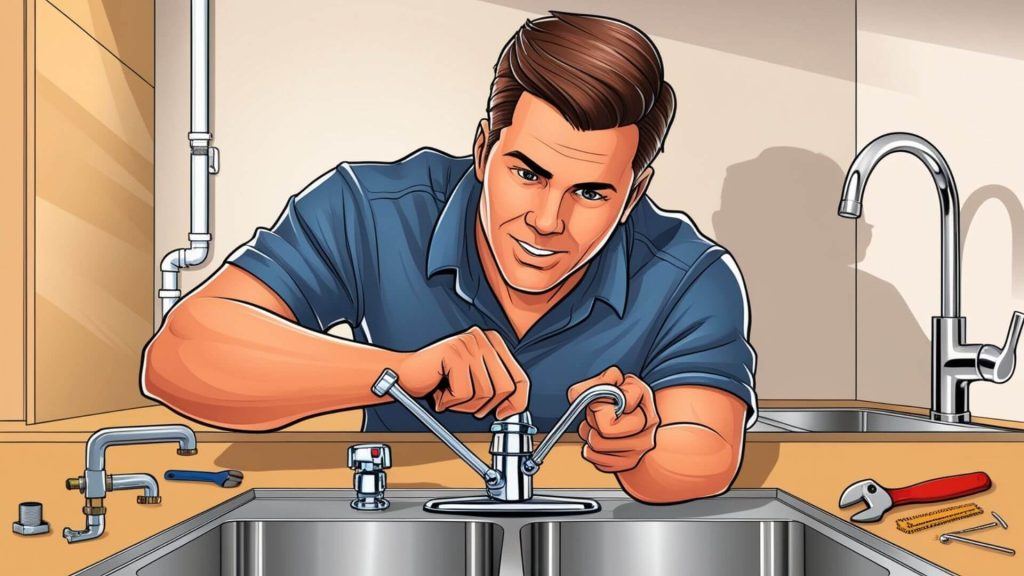
Locate the Faucet Nut:
Shine a flashlight into the hole where the faucet was(notice I said was), and find the retaining nut that holds the faucet to the sink. This nut is positioned right below the faucet base.
Position the Basin Wrench:
Attach the wrench to nut. A basin wrench can fit into tight spaces with a long handle and an adjustable head that can easily grasp nuts. 12
Tighten the Nut:
Question: Basin wrench nut, turn in the direction of clockwise grip-Do No over tighten and overtighten faucet or sink. A bigger wrench, an adjustable, for that tough nut.
You can use the plumber tape (if required):
If desired, you may also fit plumber’s tape over the threads of the nut before tightening to help ensure a more watertight connection. This provides a much better power of retention to the screw and will prevent this from happening once more.
Check for Stability:
Once the nut is tight turn the faucet on to see if its loose. It has to be steady, not shaky or shaky. If you can still move the core box once the connector is secure then by all means, tighten up on that nut some more!
Reattach the Water Supply Line
Slowly open the water supply valves and search for leaks. Make sure the knife is snug and slides smoothly.
Tips for a Successful Repair
If you work under the sink in a small space, better to have a flashlight or any kind of headlamp so yu can see what br doing.
You want to tighten the nut just enough to keep the faucet in place — you do not want to crack it.
Maintenance: Literally every now and again, check the faucet base to see if it is still tight?!
Follow these easy steps to tighten a loose kitchen faucet nut under the sink and keep your kitchen functional, again as if nothing just happened. Happy fixing! 🛠️🚰
Now that you have a list, tear through stuff like Pro Tool Reviews or PlumbingNav.
Amazon and the Amazon logo are trademarks of Amazon.com, Inc, or its affiliates.
Leave a Reply