As an Amazon Associate I earn from qualifying purchases.
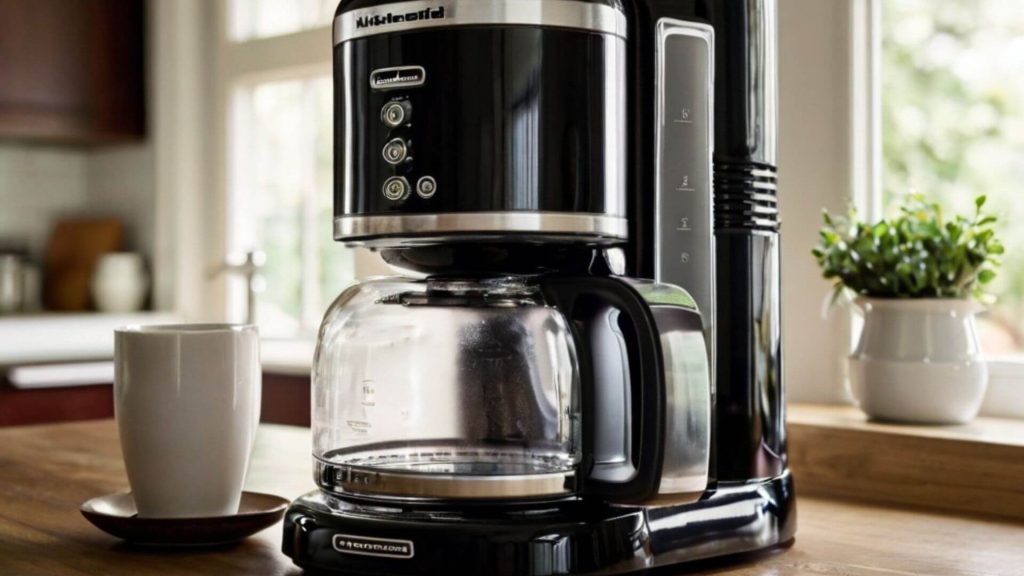
Coffee enthusiasts like nothing more than the ideal cup of joe in the morning, but they sometimes forget how to clean kitchenaid coffe maker crucial it is to maintain their coffee machine to ensure maximum taste and lifespan.
A frequent component of your kitchen routine should include how to clean KitchenAidthe coffee maker. We’ll go over every stage of the procedure in this in-depth tutorial to make sure your coffee maker keeps making great coffee every day.

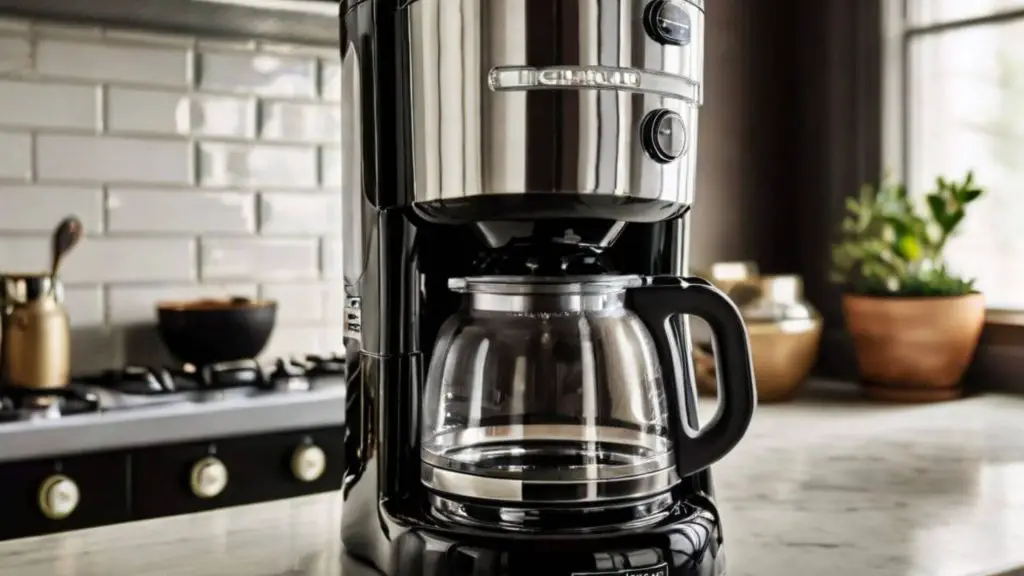
There are several coffee makers available from KitchenAid, and each one could have unique parts and functions. Because the majority of models will often adhere to the same cleaning guidelines.
Make sure you have the user handbook with you before you start. You will receive instructions and safety measures unique to your model from this handbook.
Steps for KitchenAid Coffee Maker Daily Cleaning
Step 1: Disassemble and Unplug
Prior to cleaning, make sure your KitchenAid coffee maker is disconnected for safety. Take off the brew basket and carafe, and any other pieces that are detachable.
Step2: Rinse Disposable Items
Use warm, soapy water to hand wash the brew basket and carafe. So, You can choose to clean the carafe and basket in the dishwasher if your model has one. However, to preserve the longevity of these parts hand cleaning is frequently advised.
Step 3: Clean the Computer
Wipe the coffee maker’s outside with a moist cloth. When handling buttons and electrical components, use caution. Anything abrasive should not be used inside as it might harm the surfaces.
Scale, or calcium deposits, accumulate within your coffee machine over time. But both the functionality of your machine and the flavor of your coffee may be impacted by these deposits.
KitchenAid Coffee Maker Descaling solutions:
Use vinegar, a natural alternative, or follow KitchenAid’s recommendations.
Step 1: Get the solution ready
If you want to use vinegar, put half white vinegar and half water in the water reservoir. Refer to the package instructions for a specific descaling solution.
Step 2: Let the Cycle Run
Without a coffee filter in place, begin the brewing cycle. After allowing half of the solution to go through, stop the cycle and give the solution 30 to 60 minutes to finish decalcifying the inside.
Step 3: Finish the Cycle and Flow Through
Restart the cycle after the stop to let the remainder of the solution work through. After that, give the coffee maker two or three complete cycles of plain water to get rid of any remaining descaling solution and vinegar flavor.
Monthly Upkeep Advice KitchenAid Coffee Maker
Take care of your KitchenAid coffee maker every month by following these maintenance guidelines:
Examine Wear and Tear: Look for evidence of wear on the plug, power cable, and any other parts. Get assistance on repair or replacement from KitchenAid customer care if you notice any damage.
Replace the Water Filter: If your model has one and follow the instructions in the user handbook to replace it. Usually, this happens every two months.
Examine the Shower Head: A removable shower head on certain models may be removed and cleaned to get rid of any coffee residue.
Bottom Line
Maintaining a great-tasting coffee maker and a fully operating appliance requires routine cleaning of your KitchenAid coffee maker.
A combination of deep cleaning, monthly maintenance, and everyday cleaning may increase the longevity of your coffee maker. Because, ensure that you always have a great cup of coffee. Don’t forget to consult the handbook unique to your model to adjust these suggestions.
So, enjoy a cup of perfection, knowing that you’re how to clean KitchenAid coffee maker is as spotless as your admiration for a well-roasted coffee!
Amazon and the Amazon logo are trademarks of Amazon.com, Inc, or its affiliates.
Leave a Reply