As an Amazon Associate I earn from qualifying purchases.
A delicious, fresh coffee cup can be the difference between a normal and a memorable morning. The pleasure of this sensory experience, however, is contingent upon the hygiene and care of the coffee machine.
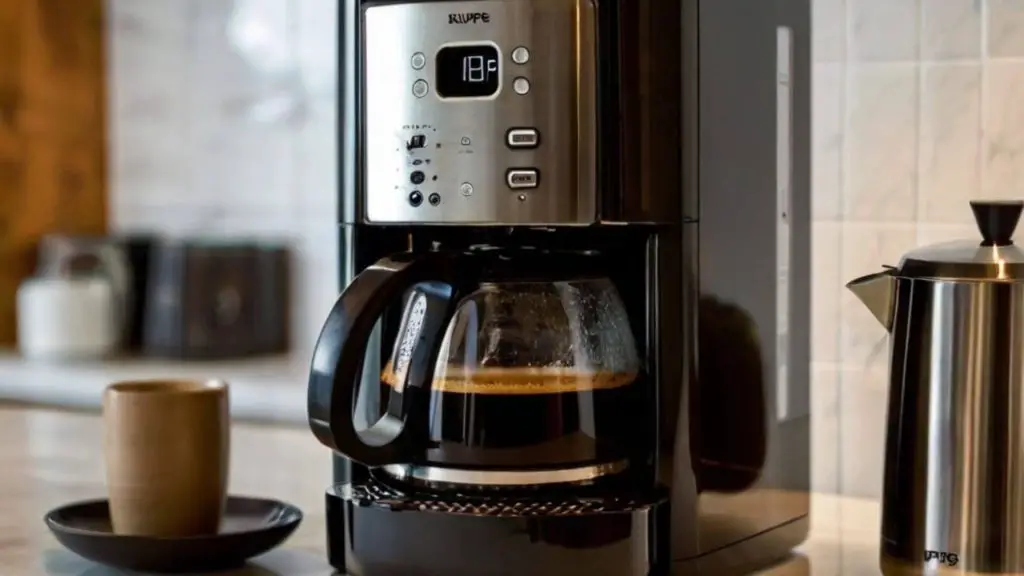
For those who own the Krups machine, routine cleaning is not only about hygiene but keeping the delicious flavor and aromatic quality of the flavor that Krups machines are renowned for.
This article will look at the excellent ways to clean and maintaining your Krups coffee maker to ensure that it is a reliable piece of equipment in your kitchen.
Importance of Cleaning Your Krups Coffee Maker

Grounds, coffee oils, and mineral deposits that result from water can build up in the coffee maker in time.
The buildup could alter the performance of your machine and alter the taste of your beverage. A thorough cleaning will not only eliminate these issues but also prolong the lifespan of the coffee maker.
Step-by-Step Guide to Cleaning Your Krups Coffee Maker
Daily Cleaning Steps:
- Unassemble the Removable Parts: After every use, take out the pot as well as the filter basket and any other components that are removable.
- Wash with soapy water: Scrub the components with an easy cloth or sponge with gentle dish soap as well as warm water. If the components are dishwasher safe, put your dishwasher in the upper rack.
- air dry or towel dry: Let the parts to completely air dry or dry them off with the benefit of a soft towel to avoid mildew or water staining.
Deep Cleaning Steps for Monthly Maintenance:

- ready an Vinegar solution: Mix equal portions from white vinegar with water sufficient to completely fill the reservoir with water.
- Run Half-Brew Cycle: Switch on the coffee maker then let the machine run for about half an hour. Then turn it off, and allow it to sit for at least an hour.
- Finish the cycle: After about an hour then turn the machine off and finish the cycle.
- Rinse thoroughly: When the vinegar cycle is completed and the water reservoir is filled with clean water. Repeat the rinse process three times to ensure that all residual vinegar is removed.
- Clean the outer surfaces: Clean the exterior part of your coffee maker using a damp cloth. Avoid harsh chemicals and hard materials that can cause damage to the surface of the machine.
Tips for Maintaining Your Krups Coffee Maker
- Make use of soft Water: Hard water may cause higher levels of mineral buildup. If you can, opt for bottles or water that has been filtered to extend the time between deep cleansings.
- Replace water after brewing: Do not leave the water on the tank for long time. Fresh water at every use will ensure you get the desirable coffee flavor and minimizes the amount of residue.
- Use fresh coffee and the correct filters: Use only fresh, high-quality, quality coffee and the right kind of filter (paper or reuseable) suggested by Krups. This will prevent excess particles and oils from getting into the system.
- Regularly scheduled inspections: Pay attention on the machine’s parts particularly the filter basket and carafe. If you find cracks or damage, you should repair the part to warrant an appropriate and safe operation.
FAQ
How do I clean my Krups coffee machine?
“Setting your water hardness” to access the cleaning tablet funnel. 26 Place a KRUPS Cleaning tablet within the funnel designed for cleaning tablets.
Press the button to resume the cleaning program after it is finished. The machine will beep for ten seconds after the first phase, which lasts for ten minutes.
How do I use my Krups coffee maker?
I have my water already in the reservoir. So I’ll simply remove the gold cone. Filter add my coffee replace the filter close the lid. Press brew sit and enjoy.
Conclusion
The purpose that the espresso maker plays in kitchens is beyond its practical use. It is an instrument for traditional, comfort and ritual. This is why it is important that your Krups coffee maker needs the attention and consideration it deserves.
Regular cleaning is not just about ensuring the best flavor of your coffee, but also shows your commitment to ensuring that your kitchen is maintained in a way in which cleanliness and quality are inextricably linked.
When you incorporate these practices into your daily routine you can warrant that you can warrant that your Krups machine will always be an unbeatable supply of warm and comfort and will serve up the accurate coffee in every cup.
Amazon and the Amazon logo are trademarks of Amazon.com, Inc, or its affiliates.
Leave a Reply